![]()

How Long Does It Take to Build a PC? Easy 2026 Timeline Guide
Wondering how long it takes to build a PC? First-time builders average 2.5-3 hours, while experienced builders complete standard gaming PCs in 90 minutes. Complete timeline breakdown inside.
Contents
show
How long does it take to build a PC?
Building your first PC can feel like standing at the base of Mount Everest with nothing but a screwdriver and a YouTube tutorial , The components are expensive, the terminology sounds like a foreign language, and you’re convinced that one wrong move will turn your dream gaming rig into an expensive paperweight , But here’s the truth that seasoned builders know : assembling a computer isn’t nearly as intimidating as it seems, and the time investment is surprisingly manageable
So, how long does it take to build a PC ? actually If you’re an experienced builder working with standard gaming components , you’re looking at roughly 1 to 1.5 hours from unboxing to boot-up , Planning something more elaborate with custom water cooling and hard tubing? Expect to invest 3 to 4 hours , And if this is your maiden voyage into PC building territory, budget around 2.5 to 3 hours, possibly more if you’re taking your time to understand each step , The beautiful part? Every subsequent build gets faster as muscle memory kicks in and confidence replaces hesitation
How long it Takes to build a PC for beginners vs experts
| Builder Experience | Time |
|---|---|
| First-time builder | 3–5 hours |
| Intermediate builder | 2–3 hours |
| Experienced builder | 1–2 hours |
The hardware assembly phase: where your time actually goes
Getting your workspace ready
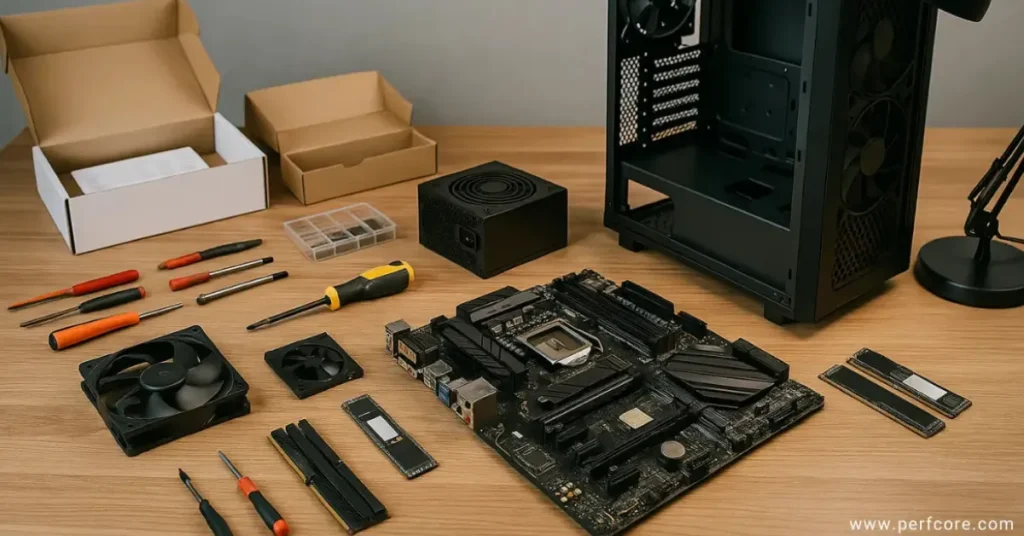
Before touching a single component, smart builders spend a few minutes setting themselves up for success. This means cracking open every box to verify you’ve got all the screws, cables, and instruction manuals you’ll need. Here’s a pro tip that’ll save you headaches later: keep that power supply box intact. It becomes the perfect storage container for all those extra cables and adapters you won’t be using. Grab a magnetic parts tray if you have one, clear off a spacious table, and make sure you’ve got decent lighting. This preparation phase takes less than 10 minutes but prevents the frantic mid-build scramble for that one tiny screw that rolled under your desk.
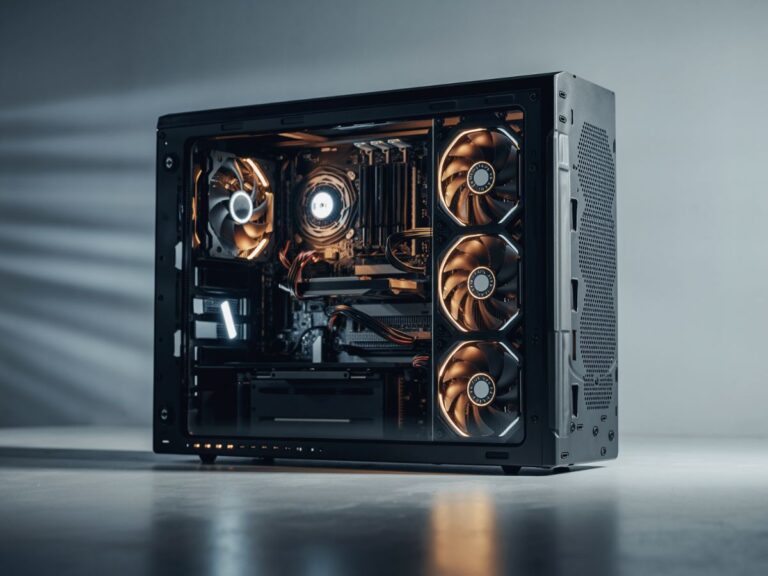
Installing components on the motherboard
Most experienced builders agree that working on the motherboard before it goes into the case makes life infinitely easier. You’ve got better angles, better visibility, and zero chance of dropping a screwdriver onto your tempered glass panel.
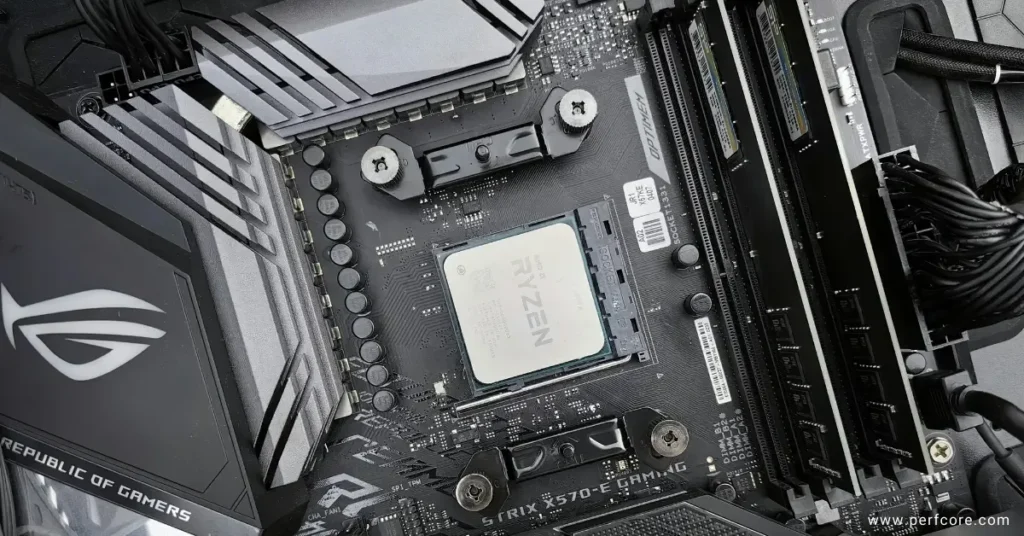
The CPU: your most nerve-wracking minute
Installing the processor is paradoxically the fastest and most stress-inducing step of any build. Whether you’re working with AMD’s pin grid array design or Intel’s land grid array socket, the process demands careful attention, With AMD Ryzen chips , those delicate pins on the processor itself need to align perfectly with the motherboard socket any bending means potential disaster, Intel chips flip this design, putting the pins on the motherboard instead, which some builders find less anxiety-inducing
The actual installation takes less than a minute once you know what you’re doing , Lift that retention arm, align the golden triangle on your CPU with the socket marking, gently lower it into place, and secure the arm , First-timers might spend two full minutes here, and rightfully so There’s no shame in triple-checking alignment before committing This single component represents a significant chunk of your budget, so taking an extra 60 seconds to ensure proper seating is wisdom , not paranoia.
RAM: The Satisfying Click of Success
Memory installation offers instant gratification , Once you know which slots to us check your motherboard manual for the optimal configuration it’s simply a matter of lining up the notch, applying even pressure, and listening for that reassuring double-click as the retention clips snap into place , Modern motherboards use different clip styles, but the principle remains identical
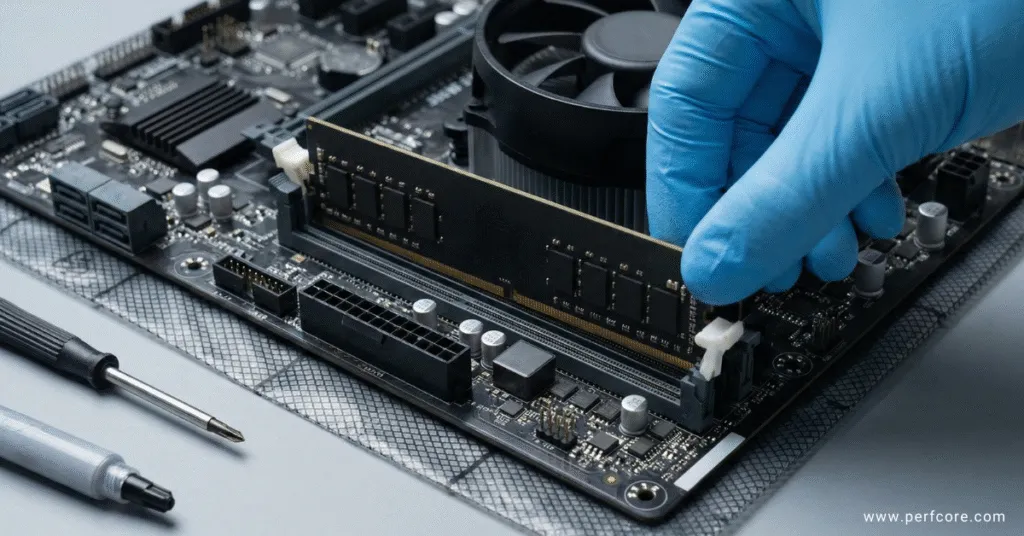
Experts breeze through this in about two minutes. Beginners might take five, especially if they’re consulting the manual to confirm they’re populating the correct DIMM slots for dual-channel performance There’s a learning curve in understanding which slots to fill first, but once you grasp that A2 and B2 are typically your go-to spots for two sticks, it becomes second nature.
Storage: The Easiest Component You’ll Install
If you’re going with an NVMe solid-state drive which you absolutely should in 2024 storage installation is remarkably straightforward. These tiny M.2 drives slide into their dedicated slots at a shallow angle, then flatten down and secure with a single screw , Some motherboards include thermal pads or heatsinks for these drives, which adds maybe 30 seconds to apply properly
The whole process takes an expert about three minutes and a beginner around five. The most time-consuming part is often removing the protective film from thermal pads or figuring out which tiny screw in your motherboard accessory box is the correct one for M2 retention It’s a far cry from the old days of wrestling with SATA cables and drive cages
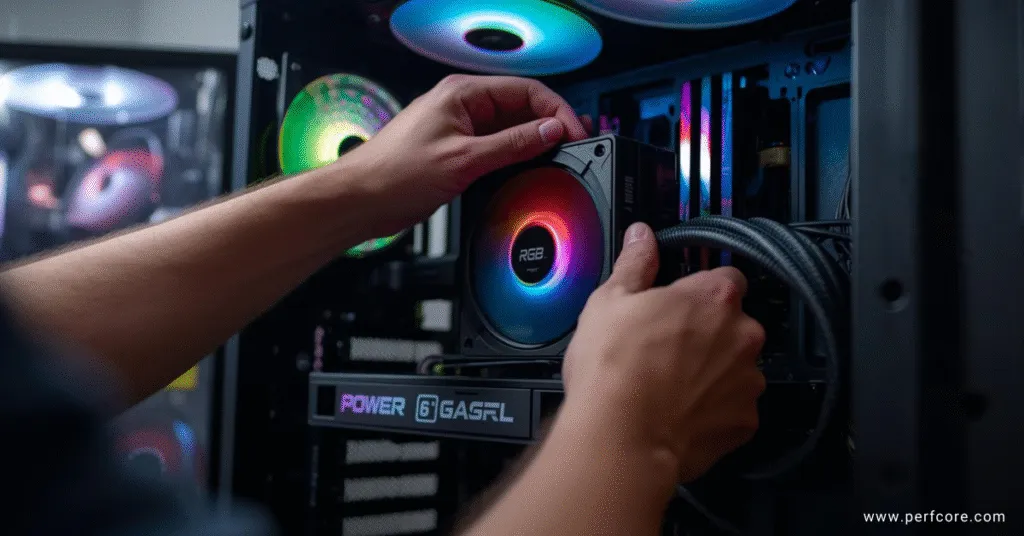
CPU Cooler: Where Patience Pays Dividends
Cooling installation represents your first major fork in the road. All-in-one liquid coolers and traditional air heatsinks follow completely different installation paths, and this is where beginners often see their timeline extend.
With AIO coolers, you’re managing multiple components: the pump block that mounts to your CPU, the radiator that needs to find a home in your case, and fans that require specific orientation for proper airflow , The coordination can be tricky. You need to think about where your radiator will mount (top or front of the case typically) which direction your fans should blow, and how you’ll route the tubes without creating clearance issues.
Air coolers offer a more direct path , The heatsink mounts straight to the CPU socket using one of several retention mechanisms, and you’re done. The trade-off is dealing with a larger, heavier component that can be awkward to maneuver
Regardless of your choice, thermal paste application deserves attention. Whether your cooler comes with pre-applied paste or you’re using your own tube, the goal is simple: a thin, even layer that fills microscopic imperfections without creating excess that squishes out the sides , A pea-sized dot in the center works beautifully for most coolers.
Time-wise, expect this step to consume 5 to 10 minutes for experienced builders, potentially 10 to 15 minutes for first-timers , If you’re installing a particularly beefy air cooler with an elaborate mounting system, or if you’re meticulously planning AIO tube routing, that window can stretch even further , This isn’t a step to rush
All told, your motherboard preparation phase will take about 10 minutes if you’ve done this before, or around 25 minutes on your first attempt
Case Installation and Power Connections
With your motherboard prepped and ready, the case phase begins , Removing those tempered glass panels and standoffs takes just a minute, but actually lowering your loaded motherboard into position and aligning it with the I/O shield requires steady hands and a bit of patience. The I/O shield itself—that metal plate that fills the motherboard cutout on your case’s rea has a reputation for being annoying to seat properly, but it only takes a minute once you learn the technique
Graphics card installation is wonderfully simple in concept: remove the appropriate slot covers from your case, align the card with the PCIe slot, press firmly until it clicks, and secure it with screws. In practice, larger cards can be unwieldy, and ensuring the retention clip fully engages sometimes requires a flashlight and contortionist skills Budget 2 to 3 minutes for experts, 5 to 8 minutes for beginners who are double checking everything
Power supply installation varies wildly depending on your case design and whether you’re planning elaborate cable management , Simply mounting the PSU takes maybe 3 minutes. Actually routing and connecting every power cable motherboard power, CPU power, GPU power, storage power can consume anywhere from 10 to 25 minutes depending on your patience for cable management and whether you’re using modular cables
This entire case installation phase typically takes experts 15 to 20 minutes, while beginners should expect 30 to 45 minutes.
Post-assembly: BIOS, windows, and the final stretch
Hardware assembly is only part of the journey , Once everything is connected and you hit that power button for the first time, you’ll need to access your BIOS to verify component recognition and enable features like XMP for your RAM. This might take 5 to 10 minutes of poking around menus
Windows installation from a USB drive runs largely unattended but consumes 15 to 30 minutes depending on your drive speed , Driver installation and initial updates add another 20 to 40 minutes, though much of this is passive waiting time where you can walk away and grab coffee
The bottom line on build time
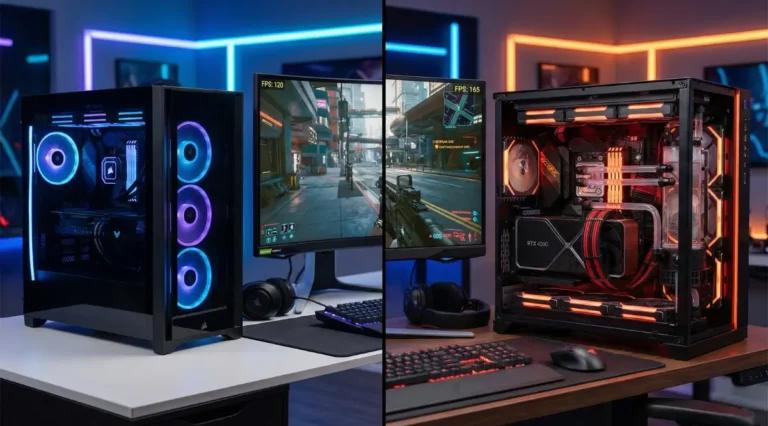
For most people building a standard gaming PC for the first time, expect to block out an entire afternoon. Three to four hours gives you room to work carefully, consult guides, and not feel rushed. Experienced builders can knock out the same system in 90 minutes or less, turning PC assembly into a quick Saturday morning project rather than an all-day affair
The investment is worth it , You’ll learn exactly how your system works, you’ll save money compared to prebuilts, and you’ll gain the confidence to upgrade or troubleshoot issues yourself down the road. Every builder remembers their first successful POST beep or boot screen it’s a genuinely satisfying moment that makes every minute of assembly time worthwhile.
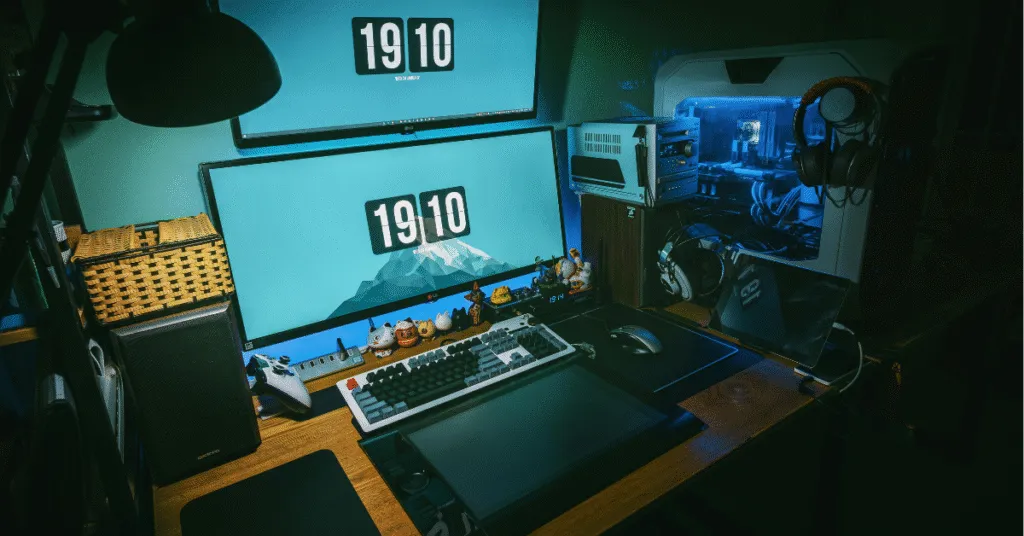
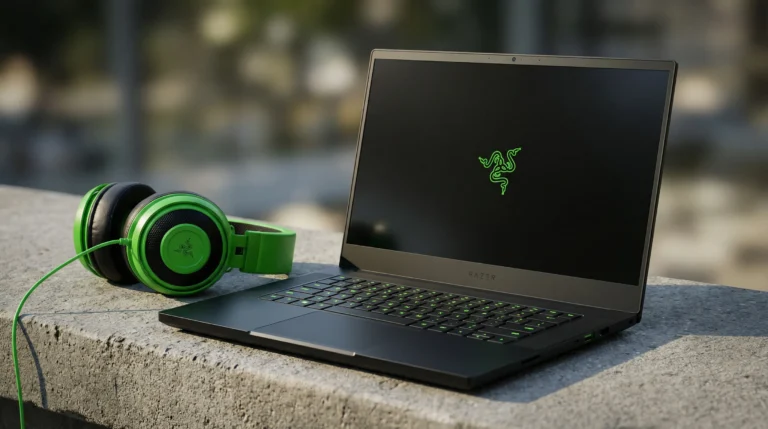
Many gamers today choose laptops instead of desktops for portability. If you’re considering that option, our guide on how to choose a gaming laptop in 2026 explains the most important specs to look for, including GPU performance, display refresh rates, cooling systems, and battery considerations.
I haven’t been working in the IT industry for very long, but ever since I was a kid I knew this was what I wanted to do. I started studying and tinkering with hardware when I was around 10 years old, although I had been using computers long before that , I used my first mouse at just 3 years old.
My studies focused on computer science topics, mainly cybersecurity. Over time, I discovered how much I enjoyed sharing hardware-related news and information with others.
Like many professionals in the industry, video games were one of my main motivations for getting into tech. They’re still a big part of my daily life, and I’m always keeping an eye on the latest announcements.
I’ve been working at PerfCore for a while now as a writer, and little by little I’m gaining experience in other roles as well such as doing in-depth product reviews and developing a more critical, analytical approach to hardware.


niiiiice
thank you bro
Howdy would you mind letting me know which web host
you’re working with? I’ve loaded your blog in 3 completely
different browsers and I must say this blog loads a lot quicker then most.
Can you suggest a good web hosting provider at a reasonable
price? Many thanks, I appreciate it!
Thanks a lot
I’m using Hostinger, specifically the Cloud Startup plan. The performance is really good for the price, especially if you’re aiming for speed and stability.
You can get it cheaper through this link:
https://perfcore.com/go/hostinger
The version I’m using is the India-based one, and it supports PayPal payments without any issues.