
How to build a gaming PC: complete guide for 2026

Building your own gaming PC is one of the best decisions you can make as a gamer. More performance per dollar than any pre-built. Full control over every component. A machine that you can actually upgrade years down the road instead of throwing it out when one part dies.
The process looks intimidating from the outside. It really is not. If you know how to build with LEGO as a kid, you can build a PC. Modern components only fit one way, connectors are color-coded, and the tools you need fit in one hand.
What actually trips people up is not the assembly. It is choosing the right parts for their budget, avoiding compatibility traps, and knowing what to do when the screen stays black on first boot. This guide covers all of it.
Table of Contents
What you need before buying a single part
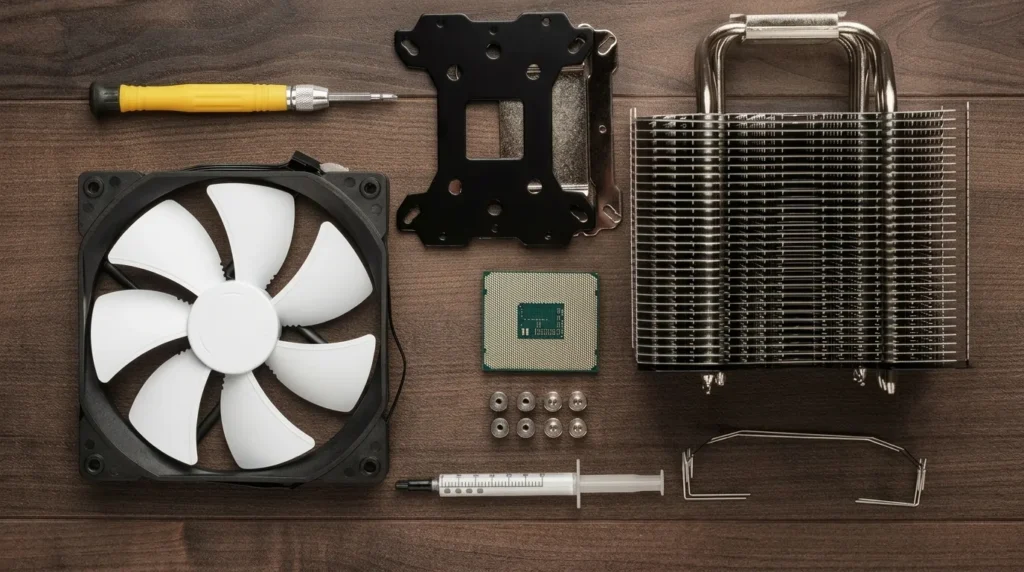
Before spending anything, you need two answers.
What resolution will you game at? This single decision defines your entire build. Gaming at 1080p and gaming at 4K are completely different hardware conversations.
What is your real budget? Not your ideal budget. Your actual budget, including the monitor, keyboard, and mouse if you do not have them yet. A lot of people budget $1,000 for a PC and forget they also need a $250 monitor and $100 worth of peripherals.
Here is the 2026 reality for each price tier:
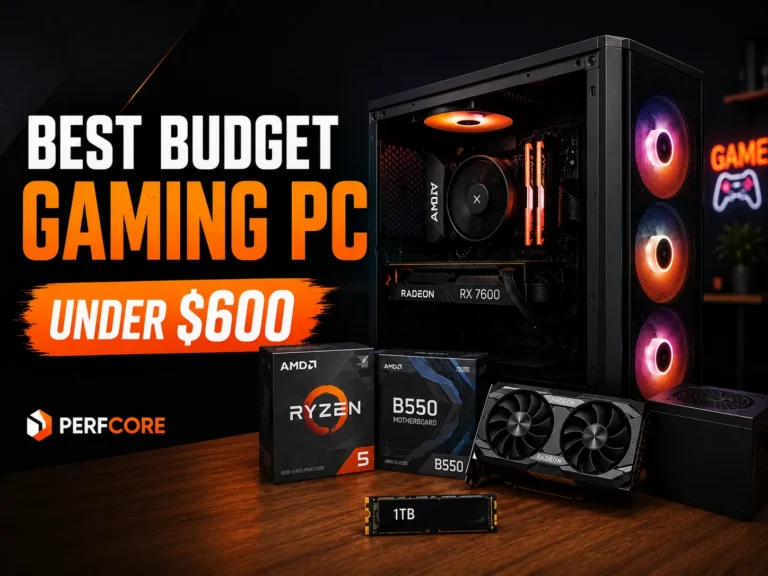
- $600 to $800 — Solid 1080p gaming at high settings. Esports titles run at 144 FPS or above. AAA games hit 60 to 90 FPS depending on the title.
- $900 to $1,200 — The sweet spot. Strong 1080p and very capable 1440p at high settings. This is where most people should be building right now.
- $1,300 to $1,800 — Excellent 1440p at high or ultra settings, 144 FPS in most titles. Entry-level 4K territory with some games.
- $2,000 and above — High-end 4K gaming, 144 FPS in demanding titles, future-proofed for several years.
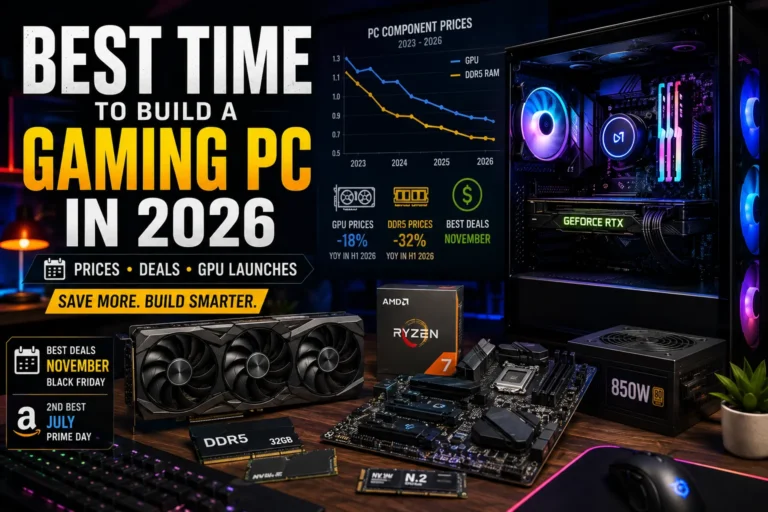
One important thing about 2026 specifically: RAM prices are at a multi-year high due to supply shortages. Budget an extra $20 to $40 compared to what older build guides suggest. It is a temporary situation but it affects buying power right now, especially in the sub-$800 range.
The 7 parts every gaming PC needs
Every gaming PC, from a $600 budget build to a $3,000 enthusiast rig, uses the same seven components. Here is what each one does and where to put your money.
GPU (graphics card)
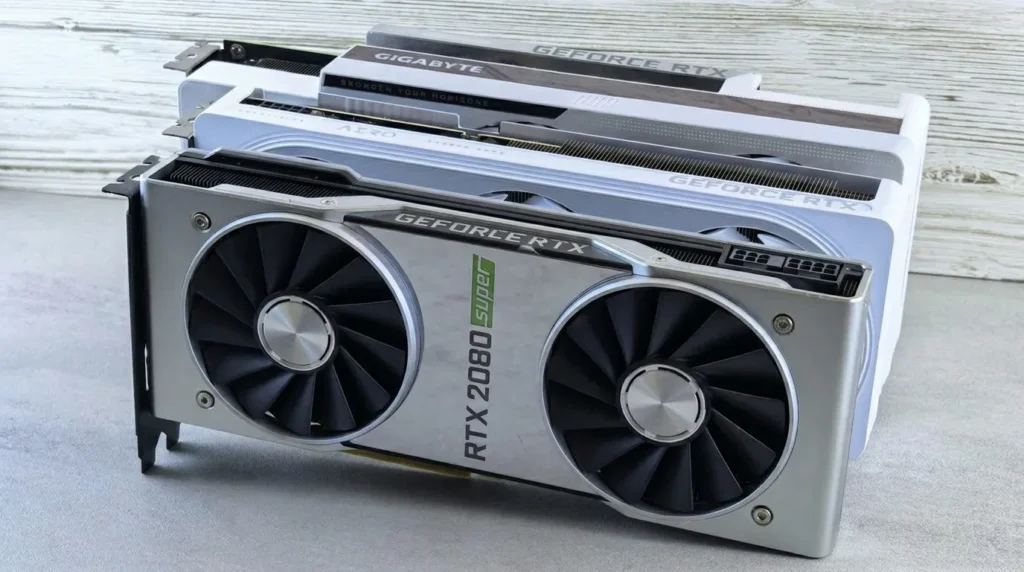
This is the most important part for gaming. Every frame you see on your screen is rendered by the GPU. Spend 35 to 40 percent of your total budget here.
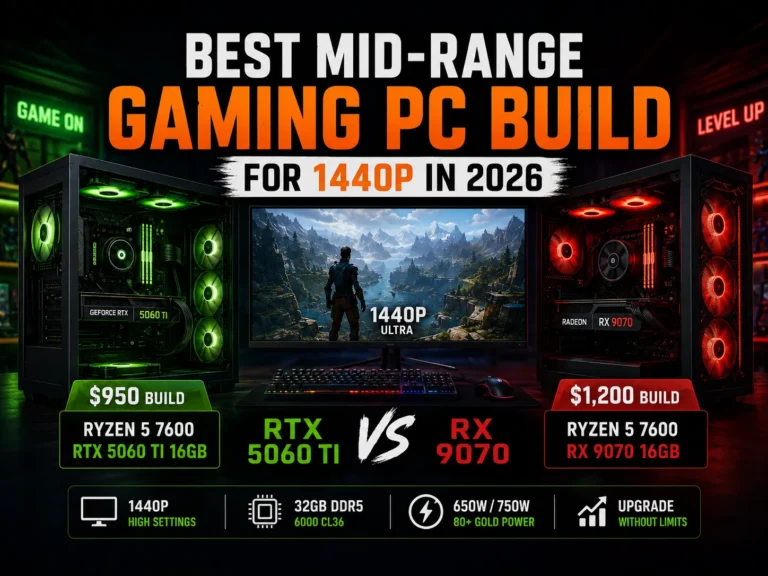
In 2026, the best value mid-range options are the NVIDIA RTX 5060 Ti and the AMD RX 9070. For high-end 1440p and 4K, the RTX 5070 and RX 9070 XT are the targets. If you are building on a tight budget, the previous-generation RTX 4060 and RX 7600 still make sense at current used prices.
Not sure whether to go NVIDIA or AMD? We compared both brands in detail in our Nvidia vs AMD graphics cards guide to help you decide based on your use case and budget.
CPU (processor)
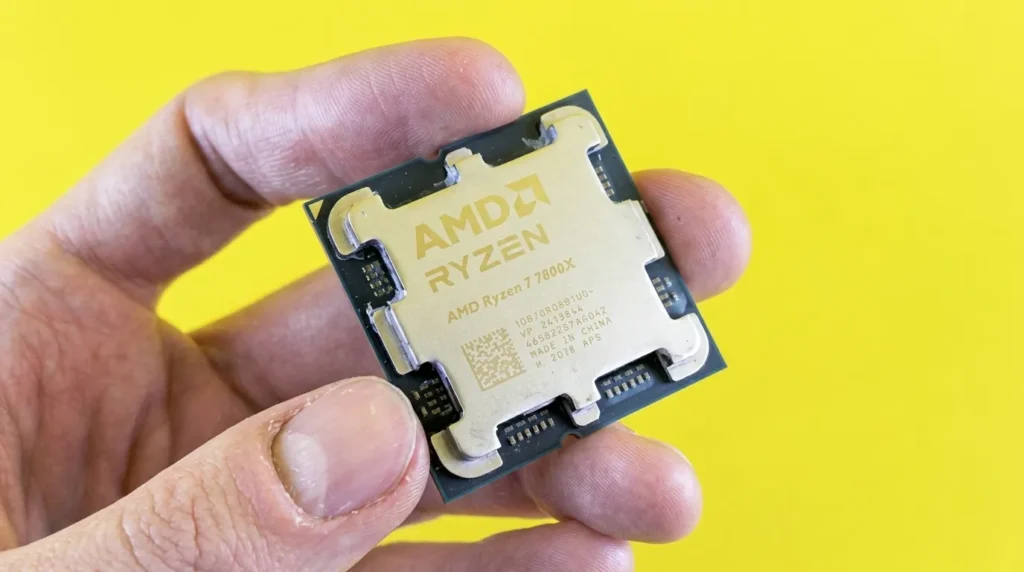
The CPU handles game logic, physics, AI behavior, and background tasks. For gaming in 2026, a 6-core CPU is the minimum. An 8-core hits the sweet spot for most people.
Platform choice matters here:
- AMD AM5 — Ryzen 7000 and 9000 series. Strong gaming performance, especially with 3D V-Cache models. The platform is expected to stay relevant through 2027 at minimum.
- Intel LGA1851 — Core Ultra 200K series. Competitive in multi-threaded workloads, solid for gaming.
For most builds, AMD AM5 with a B850 motherboard is the practical recommendation in 2026.
RAM (memory)
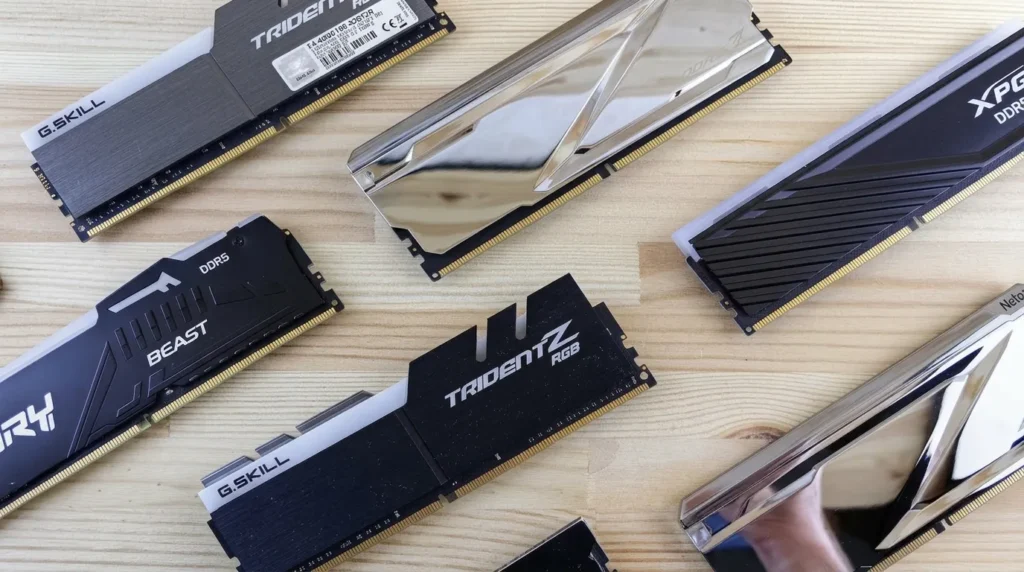
32GB of DDR5 is the standard for a new gaming build right now. 16GB is playable for pure gaming but gets tight fast if you run Discord, a browser, and a game at the same time.
Target DDR5-6000 CL36 for AM5 builds. This speed hits the memory controller sweet spot on AMD’s platform, meaning you get maximum bandwidth without paying a premium for diminishing returns.
Buy a dual-channel kit, meaning two sticks of 16GB rather than one stick of 32GB. Dual channel gives you noticeably better performance.
Storage (SSD)
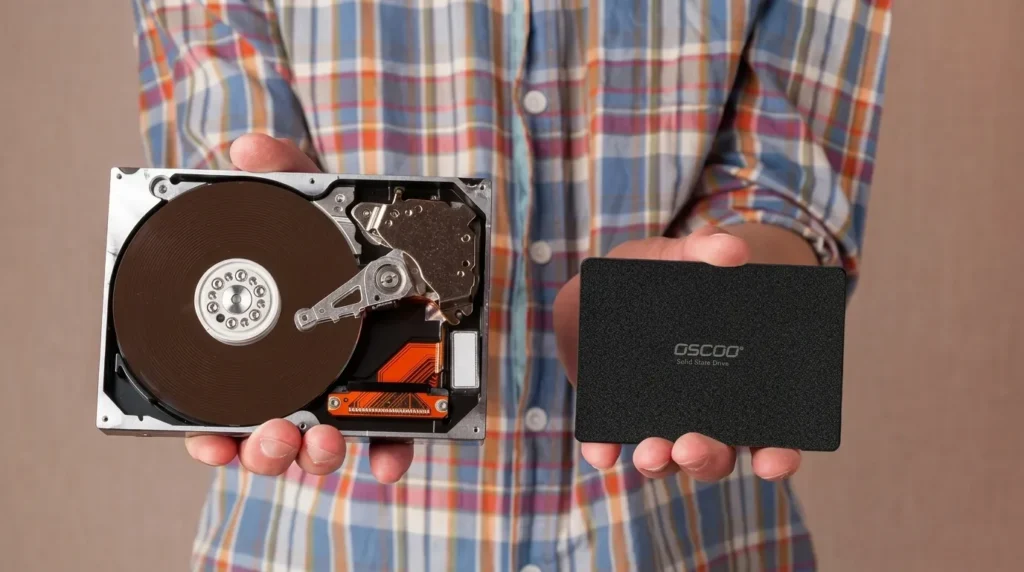
Go NVMe M.2 SSD. Do not use a hard drive for your main gaming drive in 2026. Even budget NVMe drives load games dramatically faster than any HDD.
A 1TB NVMe is the minimum. 2TB is the practical choice if you play a lot of big titles. Games like Call of Duty and Microsoft Flight Simulator can eat 100GB to 200GB on their own.
For speed, a Gen4 NVMe is the target. Gen5 drives exist but cost significantly more with minimal real-world gaming benefit. Gen3 is still fine for budget builds.
Motherboard
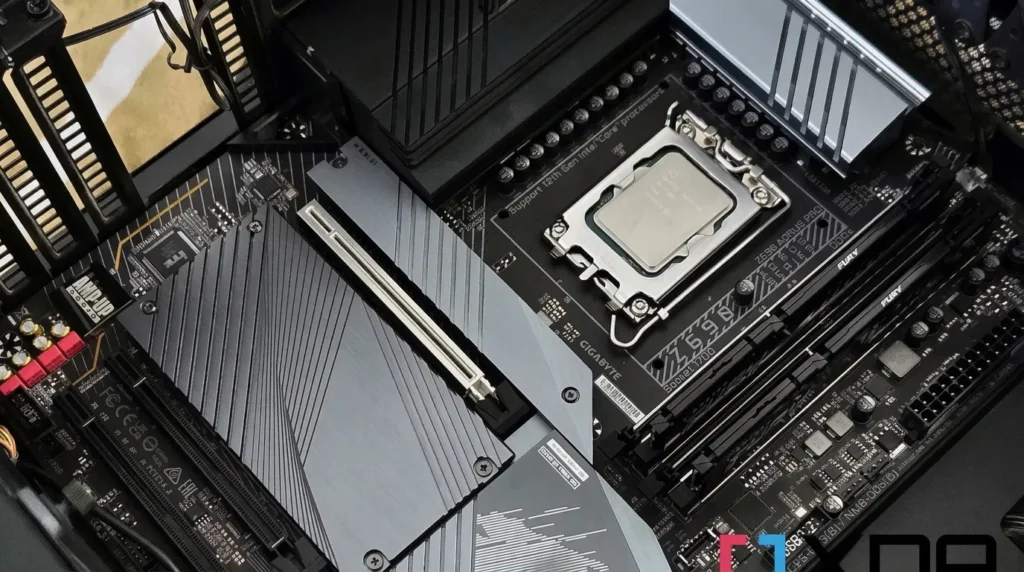
Choose your motherboard based on your CPU platform. For AMD Ryzen 9000, AM5 boards using the B850 chipset hit the sweet spot. B850 supports PCIe 5.0 for GPU and storage, has solid VRMs for CPU stability, and comes in at a reasonable price.
You do not need an X870E unless you specifically want extreme overclocking headroom or multiple PCIe 5.0 M.2 slots. For most gaming builds, spending $150 to $220 on a B850 board is the right move.
PSU (power supply)
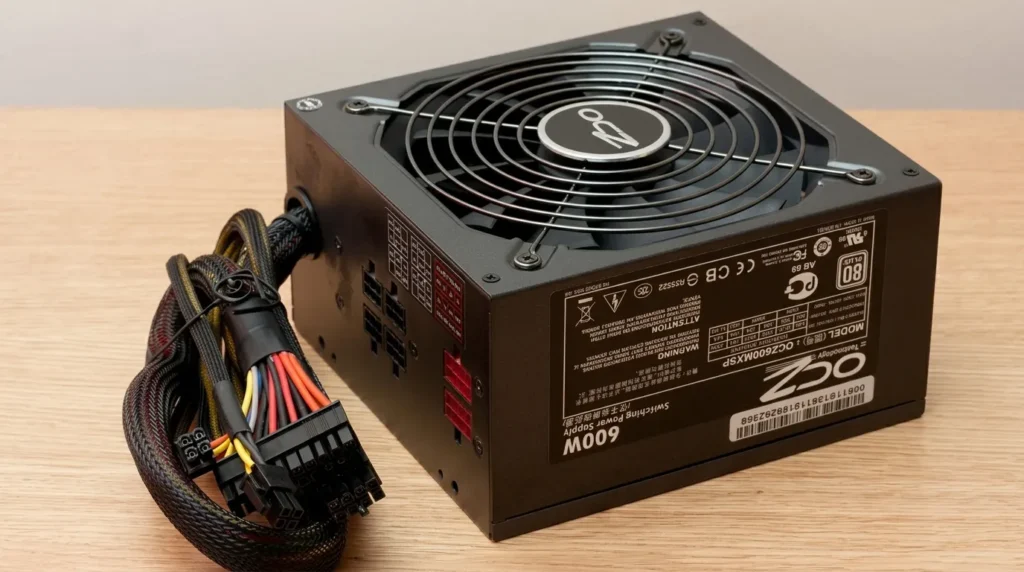
The power supply is not where you cut corners. A bad PSU can damage every other component in your build.
Target an 80+ Gold certified unit from a reputable brand. Corsair, Seasonic, and be quiet! are consistently reliable. Size your PSU with headroom: if your components draw 450 watts at load, get a 650W unit. The extra headroom improves efficiency and leaves room for future upgrades.
For mid-range builds with a card like the RTX 5060 Ti, a 650W is plenty. High-end builds with RTX 5080 or above need at least 850W.
Case
Airflow matters more than aesthetics. A case with good front intake fans keeps your components cooler, which means better sustained performance and longer hardware life.
Mesh front panels are ideal. Full steel fronts restrict airflow significantly. Look for cases that support at least one 120mm front intake fan, ideally two or three.
Mid-tower ATX is the right form factor for most people. It fits all standard components, has enough room to work in, and does not take up half your desk.
How to build a gaming PC step by step
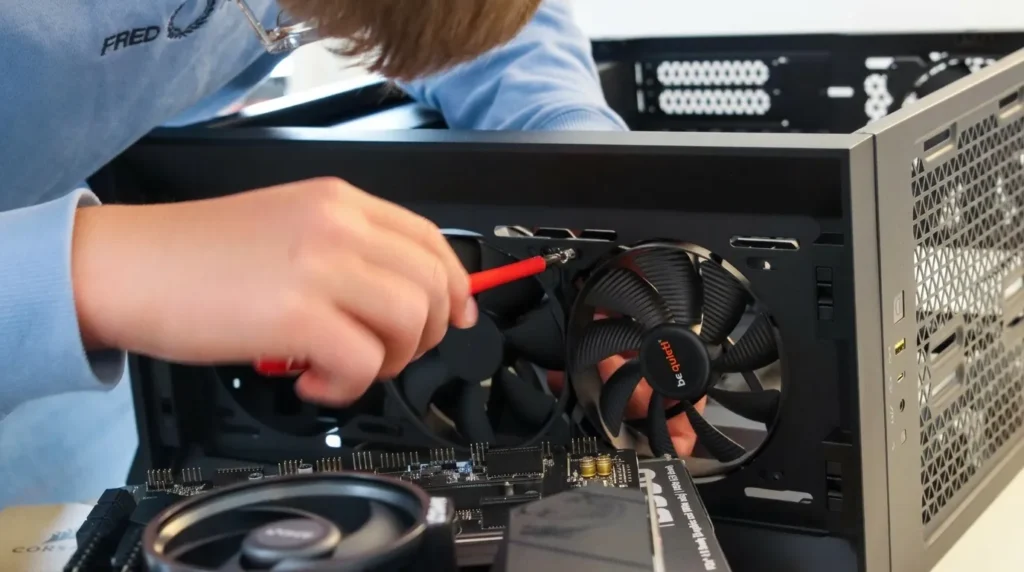
Before you start, clear a large flat surface. An anti-static mat is ideal but not strictly necessary if you work on a hard surface and touch your case’s metal frame regularly to discharge static. Have a Phillips #2 screwdriver ready. That is genuinely the only tool you need for 99% of the build.
Step 1: Prep the motherboard outside the case
Start with the motherboard on its box. This gives you a flat, stable surface and makes it much easier to install the CPU and RAM before the board goes into the case.
Install the CPU first. Open the CPU socket lever on the motherboard and lift the retention arm. Drop the CPU in gently, matching the triangle marker on the CPU to the triangle on the socket. It should drop in with zero force. If you are pushing, something is misaligned. Lower the retention arm to lock it in place.
Apply thermal paste. A pea-sized dot in the center of the CPU is enough. The cooler will spread it when tightened down. Do not overthink this step.
Install the CPU cooler. Follow the specific mounting instructions for your cooler. Most air coolers and all-in-one liquid coolers come with a backplate that mounts on the rear of the motherboard. Tighten screws in a cross pattern, not all the way one side first.
Install the RAM. Check your motherboard manual for which slots to use. Most boards want RAM in slots 2 and 4 (second and fourth from the CPU) for dual-channel operation. Press down firmly on both ends until you hear a click from the retention clips.
Install the NVMe SSD. Find the M.2 slot on the motherboard, usually just below the CPU area. Slide the SSD in at a 30-degree angle, press it flat, and secure it with the small screw. Some newer boards use toolless clips instead.
Step 2: Install the motherboard in the case
Install the I/O shield (the metal plate for the rear ports) if your motherboard has a separate one. Some modern boards have it attached. Align the motherboard with the standoffs in the case and secure with screws. Do not overtighten.
Step 3: Install the GPU
The GPU goes into the top PCIe x16 slot on the motherboard. Remove the appropriate slot covers from the rear of the case first. Press the card in firmly until the retention latch clicks. Secure it to the case with two screws at the rear bracket.
Step 4: Install the PSU
Most cases have a dedicated PSU chamber at the bottom or rear. Slide the power supply in with the fan facing down (toward a vent) or up (toward the components) depending on your case layout. Four screws secure it at the rear.
Step 5: Cable management
This is where first-time builders spend the most time. Route cables through the case’s cable management holes before plugging them in. It keeps things tidy and improves airflow.
The cables you need to connect:
- 24-pin ATX connector to the motherboard (large connector, usually on the right side)
- CPU power connector (4+4 pin or 8 pin, top-left area of the motherboard)
- PCIe power to the GPU (6+2 pin connectors from the PSU)
- SATA power for any 2.5″ SSDs or HDDs
- Case cables: power button, reset button, front USB, front audio header
The case cables are the most annoying part. They plug into a small header area near the bottom of the motherboard. Your motherboard manual shows exactly where each one goes.
Step 6: Test boot before closing the case
Do not close the case yet. Connect your monitor, keyboard, and power cable. Turn it on.
If you see the motherboard’s boot screen or BIOS screen, everything is working. If the screen stays black, check that the monitor cable is plugged into the GPU and not the motherboard’s video output, confirm the RAM is fully seated, and verify the PCIe power connectors are in the GPU.
Most first-build issues come down to those three things.
BIOS setup and first boot settings
When you see the BIOS screen, you need to configure a few things before installing Windows.
Enable XMP or EXPO for your RAM. This activates your RAM’s rated speed. Without it, DDR5-6000 kits run at 4800 MHz by default, leaving a lot of performance on the table. Look for XMP (Intel) or EXPO (AMD) in the BIOS memory settings and enable it.
Check that the SSD is detected. The BIOS should show your NVMe drive in the storage section. If it does not appear, reseat the SSD.
Set the boot order. When you install Windows from a USB drive, set USB as the first boot device.
Installing Windows and drivers
Create a Windows 11 installation USB using Microsoft’s Media Creation Tool on any other PC or laptop. Plug it in, boot from it, and follow the installation wizard. Install Windows to your NVMe SSD.
Once Windows is installed:
- Download GPU drivers directly from NVIDIA.com or AMD.com for your card
- Download chipset drivers from AMD or Intel’s website for your CPU platform
- Download motherboard drivers from the manufacturer’s support page (audio, LAN, USB)
- Restart after each major driver installation
Avoid using Windows Update as your primary driver source for GPU drivers. The manufacturer’s site always has more current and better-optimized versions.
How to check if your build is performing correctly
Run a quick benchmark right after the first boot to confirm everything is working as expected.
- CPU temperature: Use HWiNFO64. Under full load, aim to stay below 80 to 85 degrees Celsius for modern CPUs.
- GPU temperature: Under gaming load, below 83 to 85 degrees Celsius is normal. Above 90 is worth investigating.
- FPS in games: Compare your results against benchmark videos using the same GPU. Within 10 to 15 percent of average is normal; significantly lower suggests a configuration issue.
If temperatures are high right out of the box, check that the CPU cooler is mounted correctly and that all case fans are spinning in the right direction. Intake fans at the front and bottom, exhaust at the rear and top.
Getting more out of your build after assembly
Building the PC is only half the job. The default Windows and driver settings leave a lot of performance on the table for most systems.
Switching to the High Performance power plan, disabling unnecessary background services, and doing a clean GPU driver install can add 15 to 30 percent more FPS without touching the hardware. We cover all of this in our complete gaming PC optimization guide.
If you need a reference point for budget builds before deciding which tier to target, our best budget gaming PC under $800 guide has tested configurations with real benchmark results.
How long does it take to build a gaming PC?
A first-time builder should plan for 2 to 4 hours including cable management and troubleshooting. Experienced builders can complete a full build in 60 to 90 minutes.
The steps that take the most time for beginners:
- Routing case cables neatly (30 to 60 minutes)
- Troubleshooting a black screen on first boot
- Installing all drivers in the right order
Do not rush. A calm, methodical approach avoids the small mistakes that cost an hour of frustration to track down.

Allen Wade is a Senior PC Hardware & Performance Analyst at PerfCore with over 8 years of experience benchmarking CPUs, GPUs, gaming laptops, and system architectures. He specializes in 1080p and 1440p frametime analysis, thermal dynamics, and budget component optimization. Allen’s hardware testing methodology relies on standardized test benches, repeatable CapFrameX frametime captures, and clean OS environments.