
Best NVIDIA Control Panel Settings for Maximum FPS (2026)
The best NVIDIA Control Panel settings for max FPS in 2026: Low Latency Mode, Power Management, Shader Cache, G-Sync, and 5 more tweaks step-by-step guide.

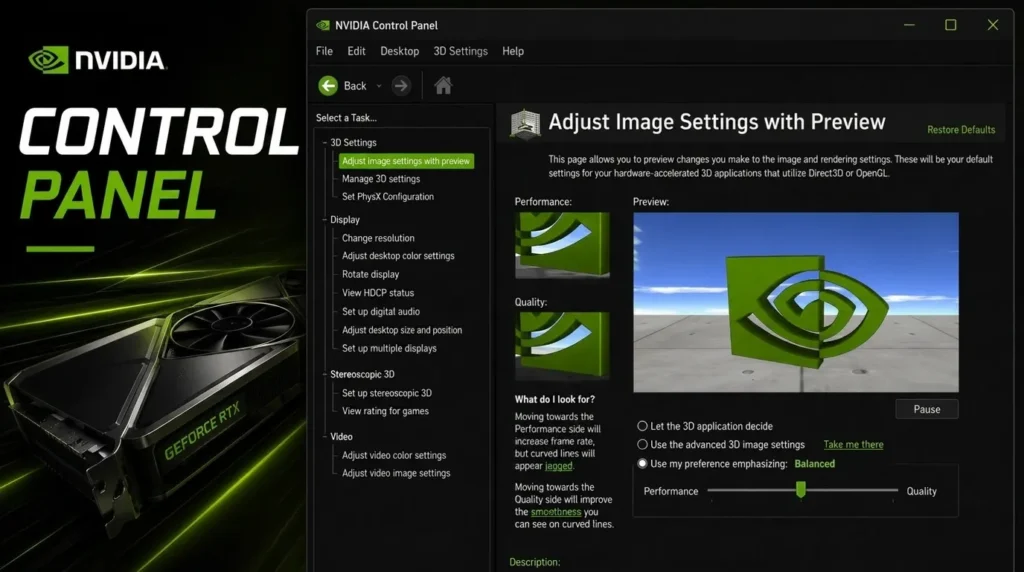
Most gamers install their GPU drivers and never touch the NVIDIA Control Panel again. That’s leaving real performance on the table. The right settings don’t just increase raw FPS they cut input lag, eliminate micro-stutters, and make every session feel smoother, even on mid-range hardware. This guide covers the best NVIDIA Control Panel settings for maximum FPS in 2026, what each setting does, and how to configure them step-by-step.
Key Takeaways:
• Low Latency Mode: Set to “Ultra” for driver-level input lag reduction comparable to Reflex.
• Power Management Mode: Set to “Prefer Maximum Performance” per-game to stop GPU clock dips.
• Shader Cache Size: Expand to 10 GB+ to eliminate mid-game micro-stutters in open-world titles.
• G-Sync + Frame Cap: Cap frame rate 3 FPS below monitor refresh rate to stay in G-Sync range without latency.
• Reflex First: Always enable in-game NVIDIA Reflex over NVCP Low Latency Mode when available.
Table of Contents
How to Open the NVIDIA Control Panel
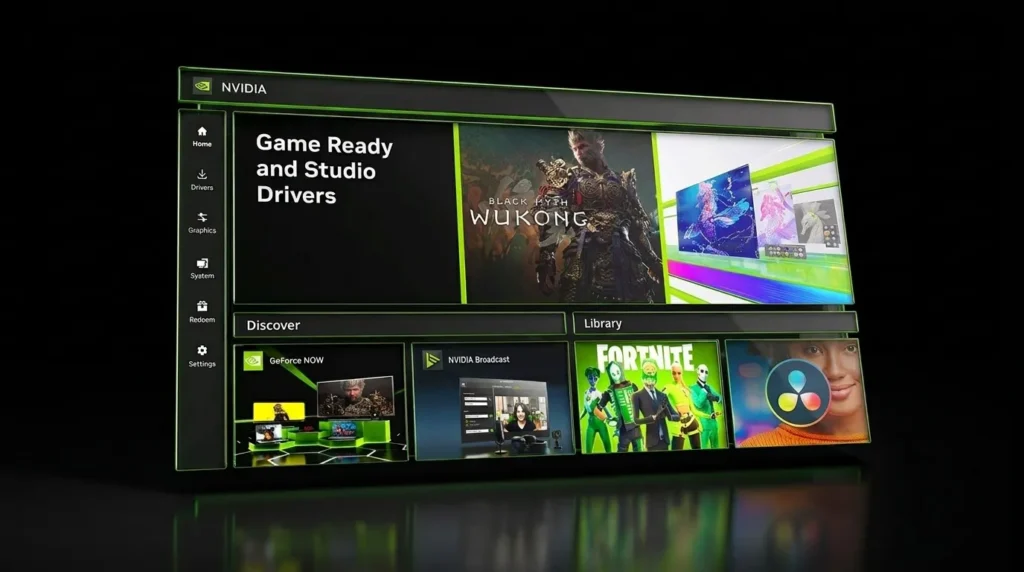
Before modifying any settings, make sure you are running a recent driver release. You can download the latest graphics drivers directly from the official NVIDIA Driver Downloads Page.
To open the control panel on Windows 10 or Windows 11:
- Right-click anywhere on your desktop and select NVIDIA Control Panel.
- In the left navigation sidebar, expand 3D Settings and click Manage 3D Settings.
- Select the Global Settings tab to apply changes universally, or Program Settings to tune specific games.
1. Low Latency Mode → Ultra
Low Latency Mode controls how many frames the CPU pre-renders before sending them to the GPU. Setting this to Ultra reduces the render queue to zero, delivering the fastest possible button-to-pixel response time.
If a game natively supports NVIDIA Reflex Technology in its graphics menu, always enable Reflex in-game instead. Reflex operates inside the game engine, making it even more precise than driver-level Low Latency Mode.
2. Power Management Mode → Prefer Maximum Performance
Dynamic power scaling can cause your GPU clock speeds to drop during quiet moments or cutscenes, leading to sudden frame drops when intense action resumes. Change Power Management Mode to Prefer Maximum Performance under the Program Settings tab for your favorite competitive games to hold peak clock speeds continuously.
3. Shader Cache Size → 10 GB
Modern DirectX 12 and Vulkan titles build massive shader caches. The default driver cache size can run out of space, forcing the system to recompile shaders during gameplay causing micro-stutters. Set Shader Cache Size to 10 GB (or Unlimited if storage permits) to maintain smooth frame pacing.
4. Texture Filtering – Quality → High Performance
Switching Texture Filtering Quality to High Performance provides a minor driver-level efficiency gain without noticeable loss in visual texture sharpness on modern displays.
5. Vertical Sync & G-Sync Setup
To eliminate screen tearing while preserving low latency, follow the gold-standard adaptive sync formula:
- Set Vertical Sync to Off in the NVIDIA Control Panel (or On if using G-Sync to prevent frame overshooting).
- Enable G-Sync for Full Screen and Windowed modes.
- Cap your Max Frame Rate at 3 FPS below your display refresh rate (e.g., 141 FPS for 144Hz, 237 FPS for 240Hz).
For demanding titles like those featured in our War Thunder Review, capping frame rates inside the G-Sync window maintains consistent frame times and prevents GPU thermal throttling.
Quick Reference Settings Checklist
| Setting Name | Recommended Value | Primary Benefit |
|---|---|---|
| Low Latency Mode | Ultra | Reduces input lag |
| Power Management | Prefer Maximum Performance | Prevents GPU clock drops |
| Shader Cache Size | 10 GB | Eliminates shader stutters |
| Texture Filtering – Quality | High Performance | Slight FPS gain |
| Threaded Optimization | On / Auto | Maximizes multi-core CPU usage |
| Max Frame Rate | Refresh Rate − 3 FPS | Keeps GPU within G-Sync range |
If you’re upgrading your gaming gear alongside your software settings, check out our review of the Corsair Clipper Pro Mini 60 keyboard for compact, low-latency esports controls.
Frequently Asked Questions
Do these settings apply to all NVIDIA GeForce graphics cards?
Yes, these 3D settings apply across all modern NVIDIA GeForce GTX and RTX series GPUs on Windows 10 and Windows 11.
Should I set Power Management to Maximum Performance globally?
No. Applying it per-game under Program Settings is recommended to prevent your GPU from running at high clock speeds and drawing unnecessary power when idle on your desktop.

Sara Jakob is the Senior Gaming Software & Systems Editor at PerfCore, specializing in PC game optimization, browser performance benchmarks, and free-to-play MMO mechanics. With a background in computer science and software testing, Sara leads PerfCore’s game setting optimization guides and software utility reviews.